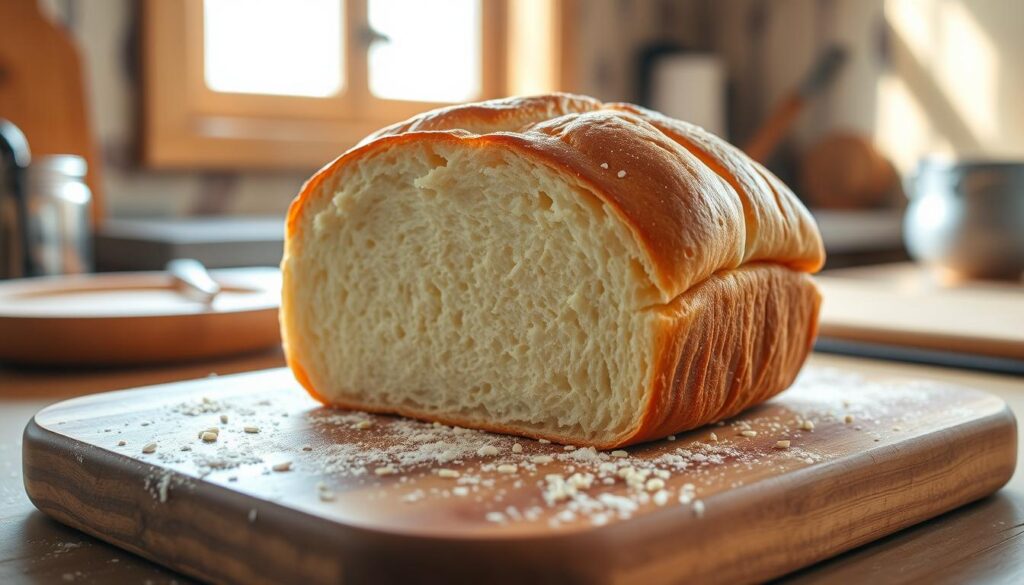
Freshly baked bread is a simple pleasure that can elevate any meal. This easy homemade sandwich bread recipe will guide you through the process of creating soft, fluffy loaves right in your own kitchen. With just a few basic ingredients and some expert baking techniques, you’ll be enjoying the aroma and taste of homemade bread in no time.
Whether you’re a seasoned bread baker or just starting to explore the joys of yeast breads, this recipe will walk you through every step. From proofing the yeast to shaping and baking the dough, you’ll learn how to achieve the perfect crust and crumb. You’ll make delectable sandwich bread that’s sure to impress your family and friends.
Key Takeaways
- Discover the simplicity of making homemade sandwich bread from scratch
- Learn essential techniques for proofing yeast, mixing, kneading, and shaping the dough
- Achieve the perfect texture and crust for soft, fluffy sandwich bread every time
- Explore flavor variations and customization options to make the recipe your own
- Enjoy the satisfaction of baking fresh, delicious bread at home
Introduction to Homemade Bread Baking
Baking homemade bread is a tradition that brings joy and satisfaction. The smell of fresh bread and its taste and texture are unmatched. It’s rewarding for both experienced bakers and beginners to make their own artisan bread at home.
The Allure of Fresh, Homemade Sandwich Bread Recipe
Homemade bread takes you back to a simpler time. Mixing, kneading, and baking were part of daily life. Seeing your yeast breads turn into golden loaves is amazing. The kitchen fills with an intoxicating aroma.
Benefits of Baking Your Own Sandwich Bread
- Unbeatable Freshness: Homemade bread is fresher than any store-bought option. You can enjoy it at its best, right from the oven.
- Control over Ingredients: Baking your own bread lets you choose what goes into it. You can avoid preservatives and additives found in store-bought bread.
- Customization Possibilities: Homemade bread is a canvas for creativity. You can try new artisan bread recipes and add your favorite ingredients.
- Sense of Accomplishment: The pride of baking your own bread is unmatched. It makes the process as rewarding as the final product.
Whether it’s the smell of freshly baked bread, the joy of making something from scratch, or wanting control over your food, homemade bread baking is worth it.

“There is no greater joy than the creation of a perfect loaf of bread.” – Julia Child
Ingredients for Delicious Sandwich Bread Recipe
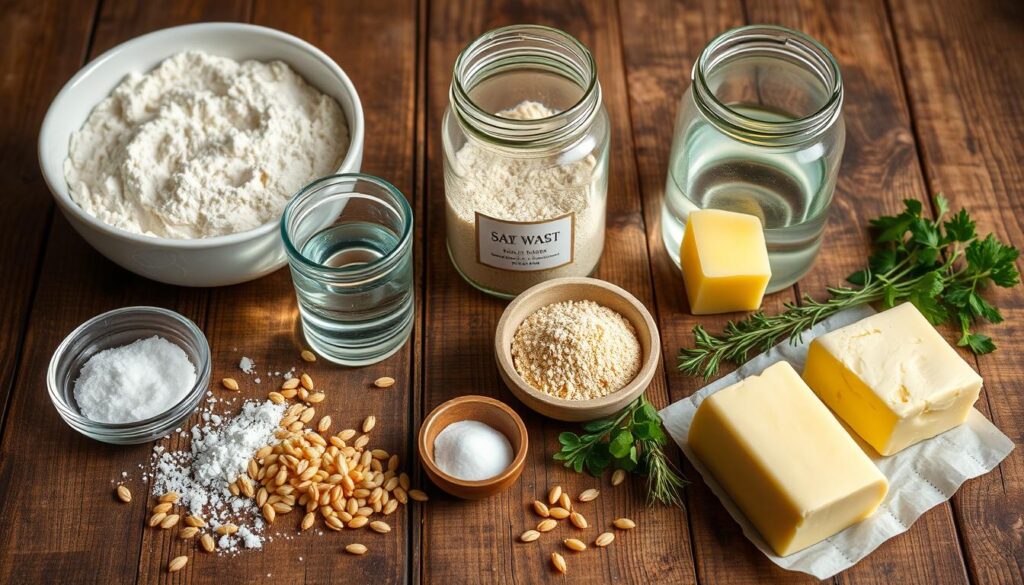
Making the perfect sandwich bread recipe starts with choosing the right ingredients. A few key elements come together to make a soft, tasty loaf. Let’s explore the essential ingredients for baking delicious yeast breads at home.
The base of any sandwich bread is bread flour. This flour gives the bread its chewy texture and structure. It works with active dry yeast to make the dough rise and become light and airy.
Warm water is also vital. It activates the yeast and keeps the dough hydrated. The right amount of water makes the bread’s inside soft and tender. A pinch of salt adds flavor, balancing the bread’s sweetness.
You can also add honey, butter, or milk to enrich the bread. These ingredients make the bread richer, sweeter, and softer. Trying different combinations can open up new flavors for your sandwich bread recipe.
| Ingredient | Purpose |
|---|---|
| Bread Flour | Provides structure and chew to the bread |
| Active Dry Yeast | Helps the dough rise and develop a light, airy texture |
| Warm Water | Activates the yeast and hydrates the dough |
| Salt | Enhances the overall flavor profile of the bread |
| Optional Ingredients (Honey, Butter, Milk) | Add richness, subtle sweetness, and a softer crumb |
With these ingredients, you’re set to make a tasty sandwich bread recipe. It will surely delight your family and friends.

Equipment Needed for Bread Baking
For successful bread baking, you need the right tools. These tools range from must-haves to nice-to-haves. Getting the right tools makes bread making easier and more fun. It also helps you make delicious bread loaves every time.
Whether you’re new to bread baking or have been doing it for years, this guide is for you. It will show you what tools you need to bake yeast breads with confidence.
Essential Baking Tools
- Mixing bowl: A large, sturdy mixing bowl is essential for kneading and proofing the dough.
- Measuring cups and spoons: Precise ingredient measurements are crucial for successful bread recipes.
- Wooden or silicone spatula: Used for mixing and folding the dough during the kneading process.
- Baking sheet or loaf pan: These are necessary for shaping and baking the bread.
- Serrated knife or bread lame: For scoring the top of the loaf before baking, creating a beautiful crust.
Optional but Helpful Gadgets
While you need the basic tools for bread baking, there are gadgets that can make it easier and more fun:
- Stand mixer: A powerful stand mixer with a dough hook attachment can knead the dough for you, saving time and effort.
- Bread maker: For those who prefer a more hands-off approach, a bread maker can handle the entire bread-making process from start to finish.
- Digital scale: Weighing ingredients, especially flour, can lead to more consistent and accurate results.
- Banneton or proofing basket: These baskets help shape and proof the dough, resulting in a beautifully textured crust.
- Oven thermometer: Ensuring your oven is at the correct temperature is crucial for achieving the perfect bread loaf.
Getting the right equipment is key to improving your bread baking skills. It helps you make delicious, artisanal-quality yeast breads at home.
Step-by-Step Guide to Making Sandwich Bread Recipe
Baking homemade sandwich bread is a rewarding and satisfying experience. With a few simple steps, you can create a soft, fluffy loaf. This will elevate your sandwiches and toast to new heights. Let’s dive into the step-by-step process of making this delicious homemade bread.
Proofing the Yeast
The first step is to proof the yeast. In a small bowl, mix warm water, sugar, and yeast. Gently stir and let it sit for about 5-10 minutes. It should become frothy and bubbly. This ensures the yeast is active and ready to work its magic.
Mixing the Dough
In a large mixing bowl, combine the proofed yeast mixture, flour, salt, and any additional ingredients like butter or milk. Use a wooden spoon or your hands to mix until a shaggy dough forms. This is the foundation of your bread loaf.
Kneading and Rising
Turn the dough onto a lightly floured surface and knead it for about 5-10 minutes. It should become smooth, elastic, and no longer sticky. Place the dough in a greased bowl, cover it, and let it rise in a warm, draft-free area for 1-2 hours. It should double in size.
Shaping and Final Rise
Punch down the dough to release any air bubbles. Then, shape it into a loaf and place it in a greased bread pan. Cover the pan and let it rise for another 30-60 minutes. It should nearly reach the top of the pan.
Baking to Perfection
Preheat your oven to 350°F (175°C). Bake the bread for 30-40 minutes, or until the crust is golden brown. A toothpick inserted into the center should come out clean. Remove the bread from the oven and let it cool in the pan for 5 minutes. Then, transfer it to a wire rack to cool completely.
Congratulations! You have now mastered the art of making a delicious homemade sandwich bread recipe. Enjoy the fresh, warm loaf with your favorite toppings or use it to create mouthwatering sandwiches.
Troubleshooting Common Bread Baking Issues
Baking homemade bread is rewarding but can have its challenges. Whether you’re new or experienced, knowing how to fix common problems is key. This helps you make delicious bread every time.
A common issue is a dense, heavy bread. This often comes from overworking the dough or using too much flour. To fix this, knead gently and aim for a dough that’s slightly sticky. Also, make sure to measure your ingredients correctly to avoid a dense crumb.
Another problem is over-proofing, where the dough rises too much. This can make your loaf flat and dense. To prevent this, watch the dough closely while it rises. Bake it as soon as it’s the right size.
- Prevent a dense texture by gently kneading the dough and using the right amount of flour
- Avoid over-proofing by monitoring the dough during the rising process and baking at the correct time
- Achieve an even, golden-brown crust by adjusting the baking temperature and duration
Finally, an underbaked crust can be a problem. To get a beautiful crust, try changing the oven temperature and baking time. A hotter oven and longer baking might give you the perfect crust.
“Troubleshooting bread baking issues is all about understanding the science behind the process and making small adjustments to achieve your desired results.”
By learning about these common bread baking problems and their fixes, you’ll make great homemade bread every time.
Variations and Flavor Enhancements
Make your homemade sandwich bread even better by trying new things. You can go for whole wheat or try something different. There are so many ways to make your bread special.
Whole Wheat and Multigrain Options
Want a bread that’s good for you? Try using whole wheat flour or a mix of grains. Whole wheat bread tastes nutty and feels more filling. It’s great for sandwiches and toast.
Try adding rye, spelt, or oats to your dough. These ingredients make your bread taste unique and delicious.
Sweet and Savory Bread Additions
Get creative with your bread by adding sweet or savory things. For sweetness, add dried cranberries, nuts, or cinnamon-sugar. For a savory twist, try cheese, jalapeños, or herbs.
There are so many things you can add. Each one will make your bread taste amazing.
| Flavor Variation | Ingredients | Suggested Serving |
|---|---|---|
| Pumpkin Spice Bread | Pumpkin puree, cinnamon, nutmeg, cloves | Toasted with butter or cream cheese |
| Garlic Herb Bread | Minced garlic, dried herbs (rosemary, thyme, oregano) | Ideal for sandwiches or dipping in olive oil |
| Cheddar Jalapeño Bread | Shredded cheddar cheese, diced jalapeños | Perfect for grilled cheese or as a side to chili |
Enjoy making your own bread by trying new things. Whether you like whole wheat or sweet and savory, it’s all about having fun. Find the perfect bread recipe for you.
“Baking bread is one of the most satisfying and rewarding experiences in the kitchen. The smell of freshly baked homemade bread is simply unbeatable.”
Storing and Preserving Homemade Sandwich Bread Recipe
Freshly baked homemade bread is a true delight. But, proper storage is key to keep its quality and flavor. Whether it’s a classic bread loaf or an artisanal crusty bread, the right storage can make it last longer. This way, you can enjoy every last slice.
Storing at Room Temperature
The best place for your freshly baked homemade bread is in a bread box or paper bag at room temperature. This keeps the crust crisp and the inside moist. Don’t store bread in plastic bags, as they can make it spoil faster.
Freezing for Later Enjoyment
Freezing is great for leftover homemade bread or for future meals. Slice the bread loaf or crusty bread into portions, wrap them in plastic wrap or foil, and freeze. This keeps it fresh and lets you enjoy it whenever you want.
Reviving Stale Bread
Don’t throw away stale bread loaf or crusty bread. Sprinkle a few drops of water on it and bake at 300°F for 5-10 minutes. This will make it feel like new again, with a crisp crust and soft inside.
| Storage Method | Shelf Life |
|---|---|
| Room Temperature (Bread Box or Paper Bag) | 3-5 Days |
| Freezer | 2-3 Months |
By using these simple storage tips, you can enjoy your homemade bread for days or weeks. Savor every bite and impress your loved ones with your baking skills.
Sandwich Bread Recipe Tips and Tricks
Making perfect homemade sandwich bread is all about the crust and crumb. This section will share expert tips to help you achieve this. Follow these insights to improve your bread-making skills and get amazing results every time.
Achieving the Perfect Crust and Crumb
For a golden, crisp crust, watch your oven temperature and baking time. Keep the oven at the right heat and bake until the bread is deep brown. Also, misting the loaf with water early in baking can make the crust even better.
To get a light and airy crumb, focus on the proofing process. Let the dough rise for the right amount of time, but don’t overdo it. The right mix of yeast, flour, and liquid is also key for a soft, fluffy interior.
