Brining is one of the best-kept secrets in the culinary world, particularly when it comes to preparing chicken that’s bursting with flavor and incredibly tender. Whether you’re roasting a whole chicken, grilling drumsticks, or preparing chicken breasts for a weeknight dinner, a good chicken brine recipe can make all the difference. In this article, we will explore everything you need to know about brining chicken, including the science behind it, essential ingredients, step-by-step instructions, and tips for achieving the best results every time.
Why Brine Chicken?
The primary purpose of brining chicken is to enhance its flavor and juiciness. Chicken, especially lean cuts like breasts, can sometimes turn out dry and bland if not cooked carefully. Brining helps to prevent this by infusing the meat with moisture and flavor, ensuring that every bite is succulent and tasty.
Brining works through osmosis, a process where the salt in the brine draws moisture into the meat. The meat then absorbs this flavorful liquid, along with any herbs and spices you’ve included in the brine. The result is a chicken that’s moist, tender, and seasoned throughout.
The Science Behind Brining
Understanding the science behind brining can help you appreciate its benefits even more. When you submerge chicken in a brine, the salt in the solution begins to break down the muscle fibers in the meat. This process allows the chicken to absorb more water and flavor. The salt also helps to tenderize the meat by altering its protein structure, making it more receptive to moisture.
In addition to water and salt, many brine recipes include sugar, which not only balances the saltiness but also promotes browning during cooking, giving the chicken a beautiful, golden color. Herbs, spices, and other aromatics can be added to the brine to further enhance the flavor of the chicken.
Essential Ingredients for a Basic Chicken Brine Recipe
A basic chicken brine recipe requires just a few simple ingredients:
- Water: The base of any brine, water ensures that the salt and other ingredients are evenly distributed.
- Salt: The key ingredient in a brine, salt helps to season the chicken and enhances its ability to retain moisture.
- Sugar: Often used to balance the saltiness and promote browning, sugar can be optional depending on your preference.
- Herbs and Spices: Adding herbs like thyme, rosemary, or bay leaves, and spices such as black peppercorns, garlic, or onion powder, can infuse the chicken with additional layers of flavor.
- Aromatics: Ingredients like lemon zest, garlic cloves, and ginger can add brightness and complexity to the brine.
Step-by-Step Chicken Brine Recipe
Now that you understand the basics, let’s walk through a detailed chicken brine recipe that you can use for any chicken dish, whether you’re roasting, grilling, or frying.
Ingredients:
- 1 gallon of water
- 1 cup of kosher salt
- 1/2 cup of sugar (optional)
- 4-6 cloves of garlic, crushed
- 1 onion, quartered
- 2-3 sprigs of fresh thyme
- 2-3 sprigs of fresh rosemary
- 1 tablespoon of black peppercorns
- 2 bay leaves
- Zest of 1 lemon
Instructions:
- Prepare the Brine:
- In a large pot, combine the water, salt, and sugar (if using). Stir the mixture over medium heat until the salt and sugar have completely dissolved. Remove the pot from the heat and let the brine cool to room temperature.
- Add Aromatics:
- Once the brine has cooled, add the garlic, onion, thyme, rosemary, peppercorns, bay leaves, and lemon zest. Stir to combine, ensuring that the aromatics are evenly distributed throughout the brine.
- Brine the Chicken:
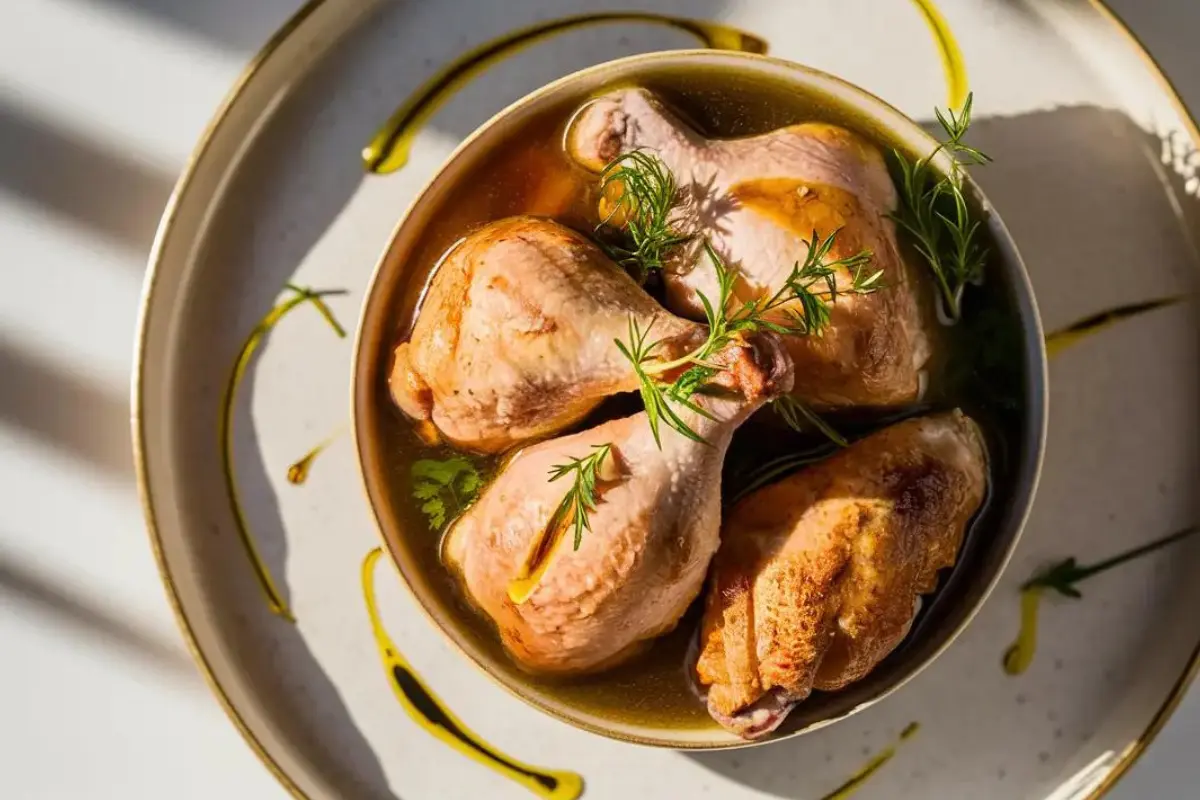
- Place the chicken in a large, non-reactive container or a resealable plastic bag. Pour the brine over the chicken, making sure it is fully submerged. If needed, weigh the chicken down with a plate to keep it immersed in the brine.
- Refrigerate:
- Cover the container or seal the bag, and refrigerate the chicken for the appropriate amount of time. For a whole chicken, brine for 8-12 hours. For smaller cuts like breasts or thighs, brine for 2-4 hours.
- Rinse and Dry:
- After brining, remove the chicken from the brine and rinse it thoroughly under cold water to remove excess salt. Pat the chicken dry with paper towels. This step is crucial to ensure that the chicken’s skin becomes crisp when cooked.
- Cook as Desired:
- Now that your chicken is brined, you can prepare it using your preferred cooking method. Whether you’re roasting, grilling, or frying, the brined chicken will be juicier and more flavorful than ever.
Tips for Brining Chicken
While brining is a straightforward process, there are a few tips that can help you achieve the best results:
- Use Kosher Salt: Kosher salt is preferred in brining because it dissolves easily and has a pure, clean flavor. If you use table salt, reduce the amount by about half since it is denser and more potent.
- Cool the Brine Completely: Never add chicken to warm or hot brine, as this can partially cook the meat and lead to uneven seasoning. Always ensure that the brine is fully cooled before submerging the chicken.
- Don’t Over-Brine: While brining can significantly improve the flavor and texture of chicken, leaving it in the brine for too long can make it overly salty and mushy. Stick to the recommended brining times to avoid this.
- Adjust Flavorings to Taste: The beauty of brining is that it’s highly customizable. Feel free to experiment with different herbs, spices, and aromatics to create a brine that suits your taste preferences.
- Consider Dry Brining: If you’re short on time or prefer a simpler method, try dry brining. This involves rubbing the chicken with salt and any desired seasonings, then letting it rest uncovered in the refrigerator. This method also enhances flavor and tenderness without the need for a liquid brine.
Variations of Chicken Brine Recipe
While the basic chicken brine recipe is incredibly effective, there are countless variations you can try to tailor the flavor to your liking or to complement a specific dish. Here are a few ideas:
1. Citrus Brine:
- Ingredients: Replace some of the water with citrus juices like orange, lemon, or lime. Add citrus zest and fresh herbs like cilantro or basil for a bright, zesty flavor that pairs well with grilled chicken.
2. Herb and Garlic Brine:
- Ingredients: Increase the amount of garlic and herbs in the brine. Use a combination of rosemary, thyme, sage, and bay leaves for a deeply aromatic and earthy flavor that’s perfect for roasting.
3. Spicy Brine:
- Ingredients: Add crushed red pepper flakes, sliced jalapeños, or hot sauce to the brine for a kick of heat. This brine works well with fried chicken or barbecue dishes.
4. Sweet and Savory Brine:
- Ingredients: Incorporate more sugar into the brine along with maple syrup or honey for a sweet contrast to the salty brine. Add cinnamon sticks, cloves, and a dash of allspice for a warm, spiced flavor that’s great for holiday meals.
5. Beer Brine:
- Ingredients: Substitute some of the water with beer or ale for a rich, malty flavor. Pair with garlic, thyme, and mustard seeds for a brine that’s ideal for grilling.
How Brining Compares to Other Techniques
Brining is just one method of enhancing the flavor and moisture of chicken, but how does it compare to other techniques like marinating or injecting?
- Brining vs. Marinating: Marinating typically involves soaking the chicken in a mixture of oil, acid (like vinegar or lemon juice), and seasonings. While marinating can add flavor, it doesn’t penetrate the meat as deeply as brining, and it doesn’t add as much moisture. Brining is more effective at ensuring the chicken stays juicy during cooking.
- Brining vs. Injecting: Injecting involves using a syringe to inject marinade or brine directly into the meat. This technique is often used for large cuts or whole chickens to ensure even seasoning. While injecting can be effective, it requires specialized equipment and can be less convenient than brining.
Frequently Asked Questions About Chicken Brine Recipe
Q: How long should I brine chicken? A: The brining time depends on the size and type of chicken. A whole chicken should be brined for 8-12 hours, while smaller cuts like breasts or thighs should be brined for 2-4 hours. Avoid brining for longer than 12 hours to prevent the chicken from becoming too salty.
Q: Can I reuse brine? A: It’s not recommended to reuse brine, as it can harbor bacteria from the raw chicken. Always discard the brine after use and make a fresh batch if needed.
Q: Do I need to rinse the chicken after brining? A: Yes, rinsing the chicken after brining is important to remove excess salt and ensure the chicken isn’t too salty. Be sure to pat the chicken dry after rinsing for the best cooking results.
Q: Can I brine frozen chicken? A: It’s best to brine thawed chicken, as frozen chicken won’t absorb the brine as effectively. If you’re in a hurry, you can place frozen chicken in a brine, but it will need to thaw in the refrigerator as it brines, which will take longer.
Q: What’s the difference between wet brining and dry brining? A: Wet brining involves soaking the chicken in a saltwater solution, while dry brining involves rubbing the chicken with salt and seasonings and letting it rest uncovered in the refrigerator. Both methods enhance flavor and moisture, but wet brining is more traditional and commonly used.
Conclusion: Elevate Your Chicken Dishes with the Perfect Brine
Brining is a simple yet transformative technique that can take your chicken dishes to the next level. Whether you’re preparing a holiday feast or a weeknight dinner, a well-executed chicken brine recipe will ensure your chicken is always juicy, flavorful, and tender. By following the steps outlined in this guide, you can master the art of brining and impress your family and friends with perfectly cooked chicken every time. So next time you plan to cook chicken, don’t skip the brine—it’s the secret ingredient to truly delicious poultry.